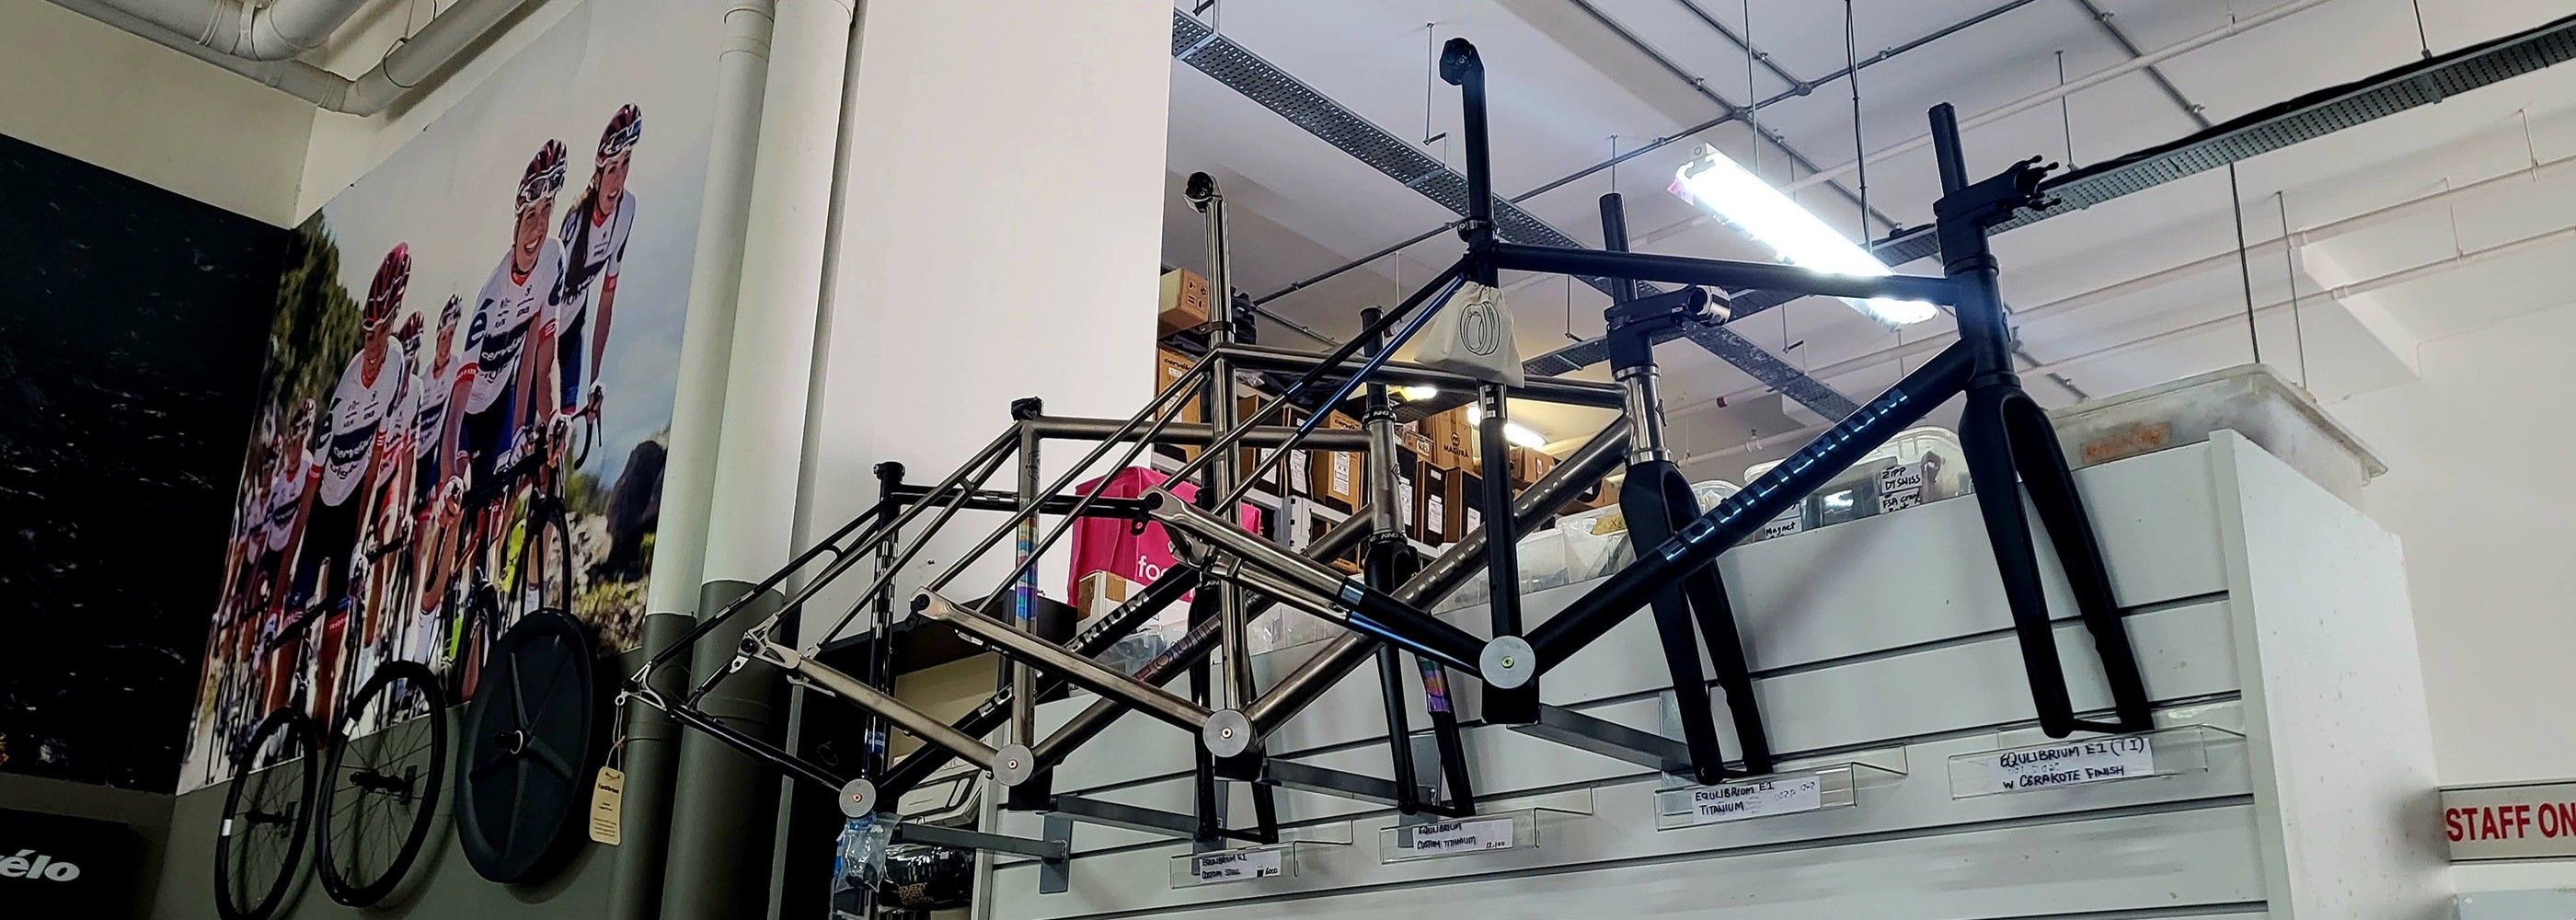
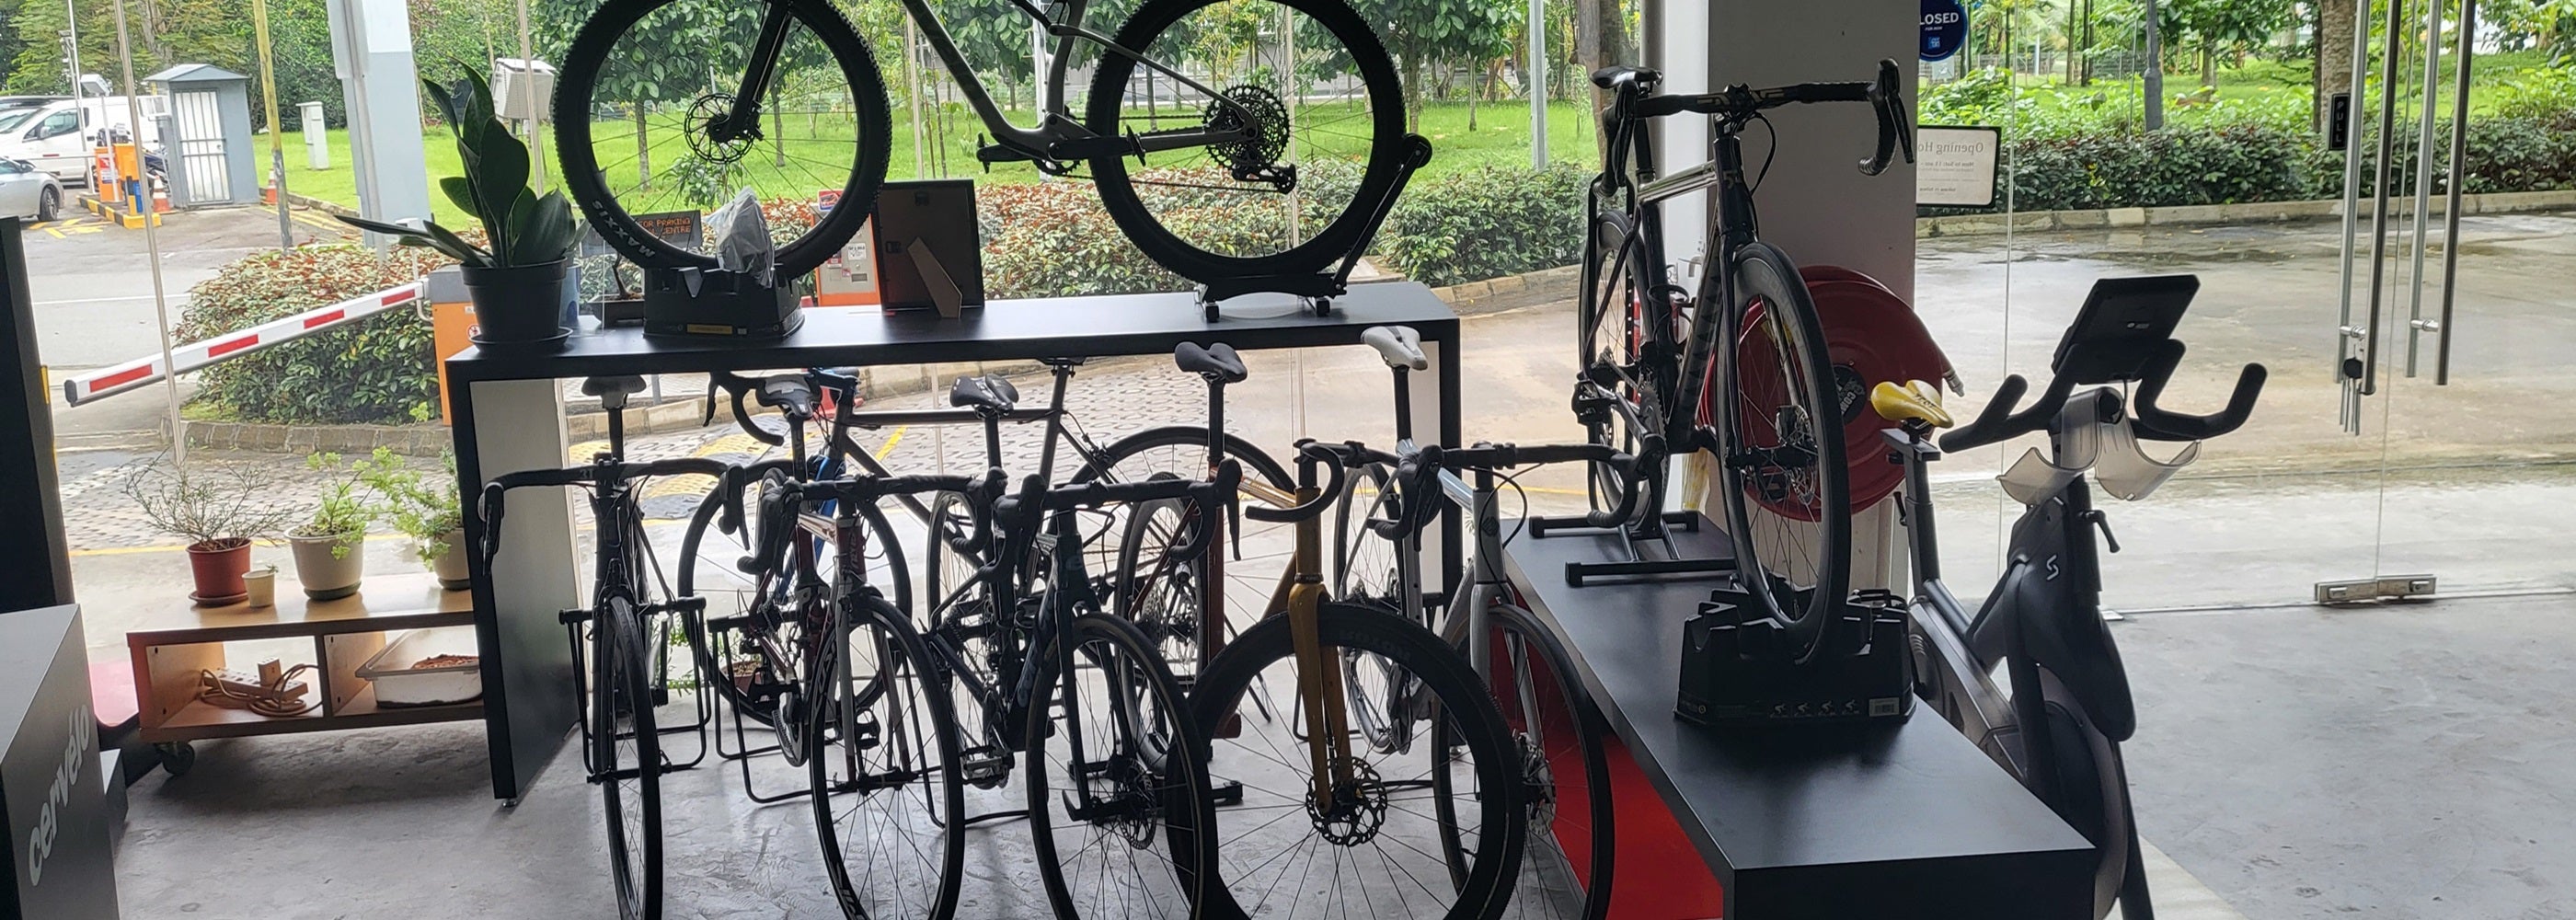
Bicycle Consultation and Custom Bicycle Assembly
We specialize in custom bicycle assembly to meet the unique specifications of each rider. We also provide consultation to help you make the right decision as to the components and parts that are the best fit for your custom bicycle.
Bicycle Assembly
Bicycle assembly is way more involved than merely building up things. It involves principles of mechanical nature that are well understood, focusing on details that are quite miniature, and accurately working in the same line. Whether you are an enthusiastic cyclist getting ready for your next cycling tour or an experienced rider trying to fine-tune your bike, the art of assembling a bicycle will get you moving safely and surely in top performance. This manual teaches the subtle aspects of bike assembly-it specifically focuses on bicycle rear wheel assembly and bicycle handle assembly.
Bikes n Bites services include the following:
- Custom handlebar installation to make sure it is aligned and attached right for perfect control and comfort.
- Optimum component layout to ensure brake levers and gear shifters are mounted and adjusted for easy application and ergonomic comfort.
- Custom adjustments-the handlebar height and angle are individually adjusted to your riding position, allowing you to experience great comfort and performance overall.
Benefits of BnB Services:
- Expert Consultation: Personalized advice on bicycle maintenance and assembly.
- High-Quality Assembly: Get the best from your bike with our professionally precise assembly process.
- Continued Care: Let our maintenance services put you on the right track to keep your bike running at its best.
Feel the difference in your ride with our professional bicycle assembly services. Contact us today for an appointment for a consultation to see how we can better your ride, and let our pros handle the meticulous assembly so that you get the ultimate cycling performance and reliability. If you want to go thought the complete process, here is the blue plan;
Rear Wheel Assembly
The rear wheel of a bicycle is key to handling, stability, and ride quality. Assembling it right involves a few sophisticated steps:
1. Gather Your Tools and Parts
Below is a step-by-step process for building a bicycle wheel. First, collect all the tools and parts: a wheel hub, spokes, nipples, rim, spoke wrench, and a truing stand if you have one. Naturally, the hub itself should be properly lubricated and rotate without resistance. Make sure you also have a spoke tension meter for more precise adjustments.
2. Mounting the Hub onto the Rim
First, put the hub into the rim. The hub should be aligned with the rim's valve hole. It should be aligned centrally to the rim. On the other side, for the rear wheels, the freehub body is installed. This needs to be carefully done as the shifting of the gears and transmission of power depends upon it.
3. Thread the Spokes
Notice the spokes to the hub, that they are threading into the nipples properly into the rim. Depending on how the wheel is designed-that is, crossed or radial lacing-apply the lacing pattern that applies to your particular wheel. Each spoke needs to be tightened to uniform tension so that the rim does not become warped.
4. True the Wheel
Then, with the use of a truing stand, check over the alignment of the wheel. Tighten spoke nipples to correct any lateral and vertical deviations so that it spins true. How well this is done will not only increase or decrease ride quality, but it will also guarantee the lifetime of the wheel.
5. Installing the Rear Wheel
Mount the wheel onto the rear dropouts in the frame and lock by an appropriate axle or quick-release. Check the wheel in the frame for alignment. It must spin freely without rubbing the brake pads or the frame.
Bicycle Handle Assembly
The assembly of the handlebar is the most vital setup of the bicycle. It touches control, comfort, and safety. Here's how to set up handlebars:
1. Mount the Handlebar to the Stem
Attach the handlebar to the stem, making sure it aligns with the front wheel for straight steering. Stem bolts need gradual tightening in a criss-cross pattern to avoid misalignment. Be sure that the handlebar is centered and aligned with the front fork.
2. Install Brake Levers and Gear Shifters
Install the brake levers and gear shifters on the handlebar, taking into account ergonomic access. Make sure the height of the levers is good for your hands, and shifters are within immediate reach. Secure these assemblies with their clamps; leave the cables neatly routed in a way that does not hinder the bar's movement.
Ensure that the height and angle of the handlebars correspond to your riding posture. Loosen the stem clamp bolts, then adjust the position of the handlebar to suit your preference; re-tighten the stem clamp bolts firmly. Proper adjustment of handlebars will help to handle a ride in a comfortable, controlled position; hence, the settings must allow a natural position to ride in.
3. Test and Fine-Tune
With everything now set together, pass over everything to see that it's all right. Ensure your brake levers and shifters move freely, and the handlebars are securely fastened. Ride out and tweak the position of the handlebar or adjust the components in fine increments to ensure man-machine harmony.


